Guidance for developing code
Command line basics
The command line is your ticket for making your computer do things you never believed it could. To unlock its full potential, I recommend looking out for short courses offered by Research Computing on shell scripting. For our purposes, we’ll just need a few fundamentals.
To open the command line, you’ll need something like the Terminal app on Mac or Linux, or Windows Terminal (this looks new, I haven’t used it, but it seems legit). If you like to customize things, you may also want to look into using a Terminal emulator – I like iTerm.
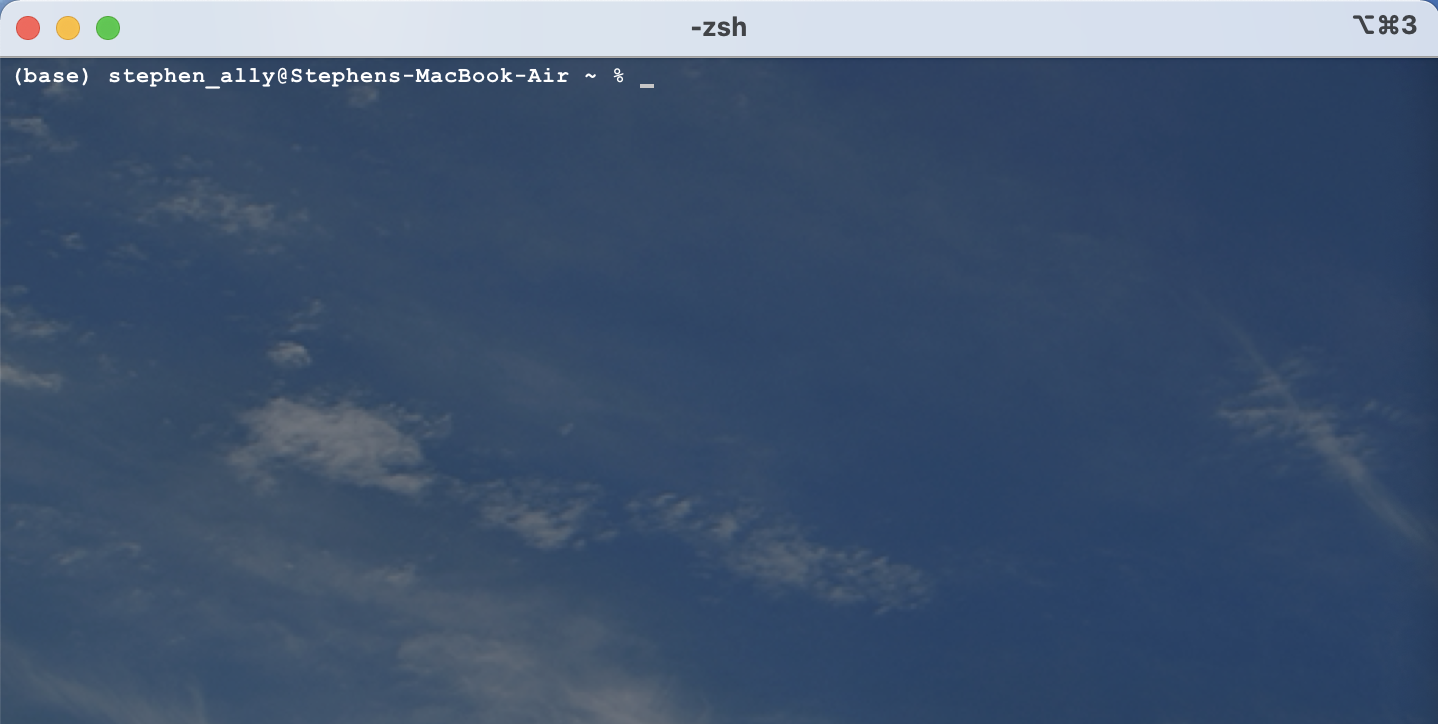
When you open the terminal, you should see something that looks like this:

The line of text before the “%” sign (sometimes it’s a “$” sign) tells you which directory (folder) you’re in. The “~” is shorthand for your home directory.
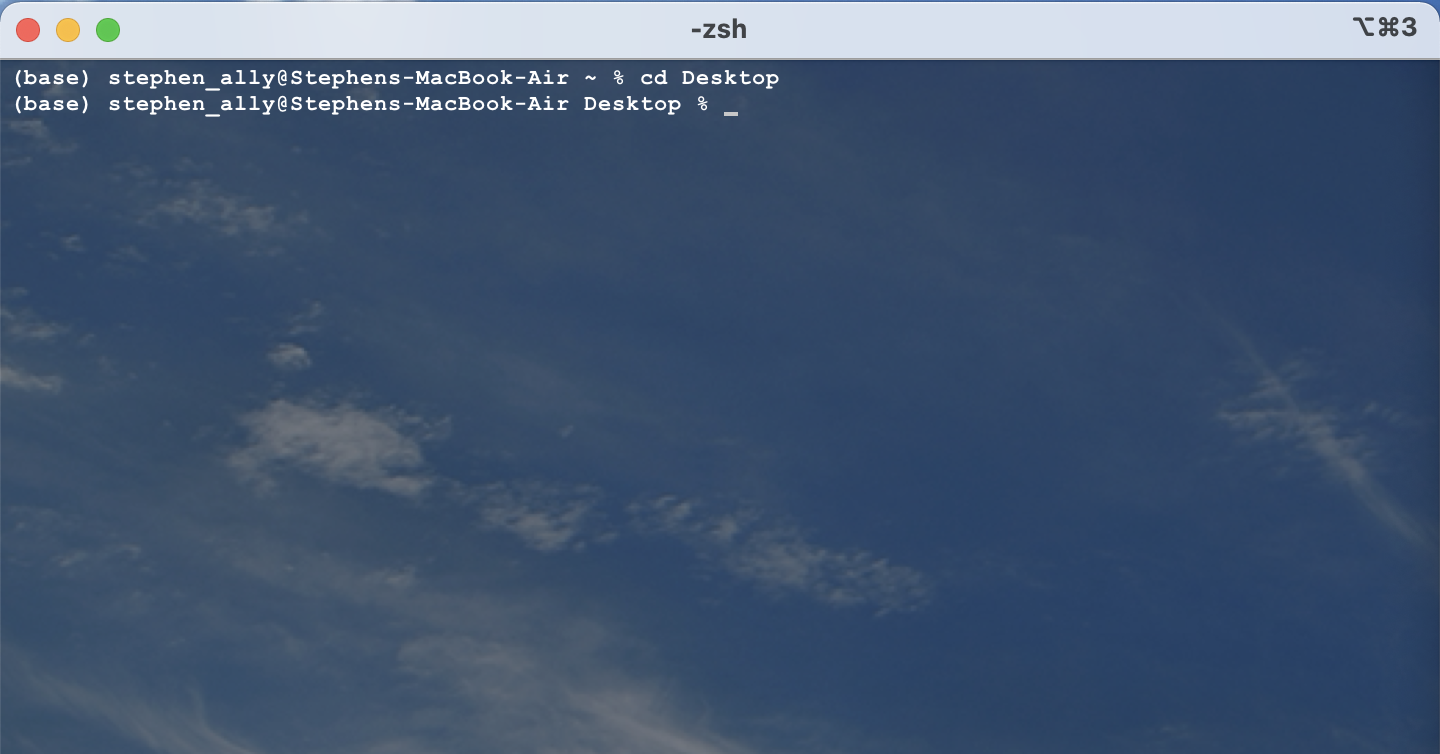
To change directories, use the command cd, which stands for “change directory”. Shell commands usually take the form of command -options object, where the -options are, well, optional. Let’s navigate to the Desktop, using the command cd Desktop/.

Great! Now you should see the word Desktop before the % or $ sign, indicating that you’re now in your Desktop directory.
If you ever want to see things from a more traditional file-viewer point of view, you can always use the open . command. Note the period (.) - in this case, that’s the “object”. A period always stands for “here”, i.e., the directory you’re currently in. Two periods (..) represent “one level up in the file structure.” So, from your current position in the Desktop directory, if you type open .., you should open up your Home directory, which is where we just navigated from.
To see the contents of a directory, use ls.
To create a new directory where you are, use the command mkdir name, where name is the title you want to give to your new directory.
To create a new file (this works best for simple things like text files), use the command touch file.ext. If you do this with an existing file, it will just update the “last modified” timestamp.
If you’re ever confused, you can look up help online, or use the man command command (man for “manual”).
Text editors
There are a variety of text editors out there for developing code. If you’re old-school and hardcore, you might like Vim or Emacs. I don’t recommend them; there are better tools available now. I like to use Sublime, since it’s pretty, versatile, and straightforward to use with many programming languages. If you’ll be using R, many people enjoy RStudio. I’ve also heard many good things about Jupyter notebooks, which allow you to develop in Julia, Python, and R.
Git and GitHub basics
Git vs. Github
Git is a powerful version control system for writing clean, trackable, reproducible code. It works by storing small files on your computer that hold “snapshots” of how your code has looked at various points in the past. This lets you go back to a stable version of your code when something inevitably breaks. By allowing you to create “branches”, it also allows you to generate new features without risking major damage to your central codebase. Pro Git provides all the guidance you could ever want about using Git. The best way to interact with Git is through the command line.
GitHub is an online service that makes Git-based code widely readable and sharable. You can use Git without GitHub, but not GitHub without Git. It has become an essential piece of open science, since it lets others view your code easily, see its history, and (if you give them the permission) to create extensions.
Setup
Downloading Git
If it’s not already on your machine, you can download Git from its homepage.
Setting up GitHub
To use GitHub, you’ll need an account. These are straightforward to create. I recommend using your academic email account, since this will be easier for others to find and may give you access to extended features available to students and educators.
When making your GitHub account, you will come to a page where you’ll be shown your Personal Access Token. On the page, it tells you to carefully take note of this token, since you won’t be able to see it again. Believe them. It’s not a lie. Take note if it, and take good care of it. This is your key for linking Git on your computer with GitHub up in the clouds. Losing it is a pain.
Setting up a Git project
To start things off, begin by navigating to a directory (folder) on your computer where you’d like to start tracking things. Do this from the command line.
There are just a handful of commands that you’ll routinely use to interact with Git. To get things started, run:
git init ., which initializes a brand new Git session in your current directory (remember the.tells your computer to initialize the Git directory where you currently are).git add ., which will add any files that are currently into the directory to the “staging area”, a sort of short-term memory.git commit -m "My First Commit", which commits the things from the staging area (short-term memory) into the version control system (long-term memory), with a short message (marked by-m) to say what this commit represents.
You’re now running Git! The next step is to link your new Git directory with GitHub. To do that, open up a webpage and go to GitHub. Ask it to create a New Repository, keep the ‘no template’ option selected, and name the repository the same thing your Git directory is called on your local machine. You’ll probably want to set the privacy to ‘Private’ and to choose a License (I like the GNU GPL 3.0 and the MIT licenses). Then hit “Create repository”. This will lead you to a page that tells you, around mid-way down, the commands you need to enter to upload an existing repository. Copy these commands and paste them into the Terminal window where you’ve just created your local Git repository. Go back to the webpage and refresh it - congratulations! You should now see your files online.
Committing
When you add new features to your code, you’ll want to commit them to long-term memory. To do this, use
git add .followed bygit commit -m "message"This will add all of your changes to short-term memory and then commit them to long-term memory, tagged with your message. Note that Git only does version control for the things you commit; unlike Dropbox, it’s not constantly watching your folders and making small updates in the background. It therefore takes some practice to use this wisely! I recommend erring on the side of committing often.
Branching
Sometimes, you’ll want to add a major new feature to your code, but you don’t want to risk messing up what you’ve already done; or maybe you’ll want to add multiple features simultaneously, all branching off of the same stem of code. Git provides a tool, aptly called a “branch”, for doing just this.
To create a branch, type
git checkout -b BranchNameThis creates a branch and moves your ‘pointer’ to that branch (see the Pro Git textbook for more on this). This now sends any new commits to this new branch. If you want to go back to the code as it was before you started the branch, typegit checkout mainThis brings you back to yourmainbranch. To return to the branch you were doing work on, typegit checkout BranchNameand voila, you’re back where you were before.
Once you’re happy with where your updates are on a given branch, you can pull them back into the main branch using
git checkout maingit merge BranchName
Once that’s done, if you won’t be using the branch anymore, you can delete it using
git branch -d BranchName
Pushing code
To keep GitHub up to date with your local changes, you need to push your code. The command for that is simply
git pushwhich you should run after adding and committing and update.
When you start a new branch, you’ll also need to initialize it on GitHub. To do that, after you’ve made your branch, run
git push -u origin BranchName
This will make a new branch online with the same name as the new branch on your computer, and will send any new pushes to that branch.
Once you’re finished with a branch and want to delete it, you can delete it both from your local machine (see above) and from GitHub. To delete from GitHub, use the command
git push -u origin :BranchNameNote that’s the same command you used to make the branch, just with the:in front of the name.
Project file structure
I like to initialize all of my projects with the following sub-directories. I’ve found that these cover almost all of the needs I run into during project development, and it helps to have the organization in place from the start.
code/
As the name suggests, this is where your code will live. I like to write code modularly, where I use distinct files or functions to run specific, limited tasks. I define many of these functions in a utils.ext file, which is like a mini-library that I read in at the beginning of my main analysis file. I then run the full analysis in something called run_analysis.ext, which calls the various functions and scripts in the proper order.
data/
This is where you store your data.
documentation/
This is where I like to keep files about using the datasets, like data dictionaries.
figures/
This is where you output your figures. I normally like to output figures as both .pdf and .png formats, since .pdfs are nice for print and .pngs are nice for online.
notes/
This is where I like to keep my project notes. In here, I have a file called something like sk_notes.md, where .md indicates that it’s a Markdown file (and sk are just my initials, so use your own), which is easily read by GitHub. On GitHub, you can navigate to the sk_notes.md and you can read prettily-formatted notes on your project. If you don’t want to share these publicly, you can add them to the .gitignore file (see below), but I encourage you to keep your notes in such a way that they can be shared along with the rest of your code once your work is published!
output/
This is where you send the non-figure outputs of your analysis.
writeup/
This is where you can keep manuscript and presentation files related to the project.
README.md
This is a Markdown-formatted file that opens up on GitHub as the landing page for your project. It should include information about who wrote the code and how to use it.
.gitignore
This is a text file that you can initialize on your local machine. It tells your computer which files/directories to ignore from Git, and therefore to withhold from GitHub. This is useful for things like sensitive data, which you don’t want to store online. It’s also useful for big files that you don’t want to be sending up to GitHub, since that’s slow.
Examples
Check out my repository on pediatric antibiotic prescribing for an example of a project that uses the above structure (note the output directory is missing; that’s in my .gitignore file since it could contain both sensitive and large data).